|
|
|---|


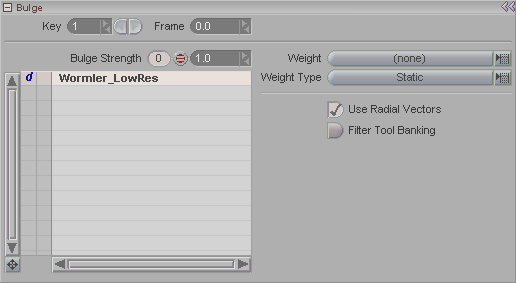
Note: This block appears when Bulge is selected in the Item List.
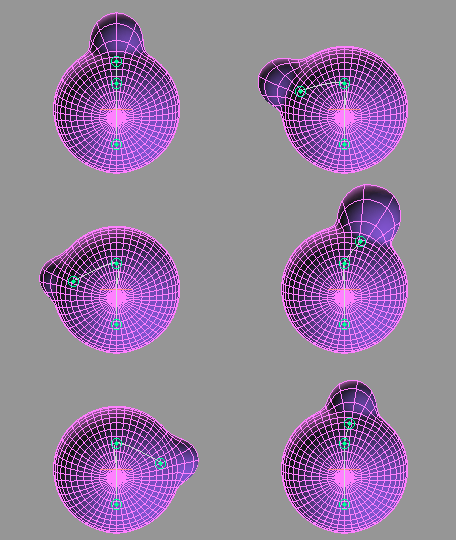
Bulge is sort of a Curve-based version of Spherize or Bloat. It can be used to build up complex muscle systems, especially when using Squash & Stretch. One way to think of it is as a localized Bloat.
Key: Moves through the existing keyframe numbers. Enter a number in the entry field to go to a specific key or use the arrows to scroll through. Note: This is not referring to the frame number, but rather whether it's the first keyframe, second keyframe, etc. For example, the first keyframe might be on frame 0, and the second keyframe might be on frame 65.
Frame: Displays the frame number that a keyframe is on. Also, you can type a number in here to change the actual frame that a keyframe is on. For example, lets say you have keyframe #2 and it's on frame 33. Just type in 52 and now keyframe #2 will be on frame 52. It's a really fast way to accurately move a keyframe.
Bulge Strength: Sets the strength of the Bulge effect. This setting will not be used if you have another weighting system chosen in the Weight pulldown. In other words, if your Weight pulldown is set to (none) then this setting will be used.
Weight (pulldown): The Bulge effect will be controlled by the Curve, but you might not want to use that curve for the weighting. So use this list to choose what weighting system from your scene that you want to use.
Weight Type (pulldown): The choices here are Static, Dynamic, and Combination. Static means that the Setup shape/position of the geometry and weight tool will be used to create the weight data. Dynamic means that the non-Setup data will be used (i.e. animatable data). Combination means that the Setup info and the animated info will be used.
Bulge Target List: This list shows you what items this Bulge effect is targeted to; in other words, what it will affect. Note that it refers only to the currently selected Bulge instance-- you might have more than one instance of it, such as on another character.
There are two columns on the left side of the list. In the first column you can choose (by clicking) d or p. The d is for displacement, the p is for position. The p option is similar to the Axis Only option for bones; it will affect the position or rotation but not deform.
The next column only matters when is p chosen. You can choose to have it affect the object before IK (blue arrow) or after IK (red arrow).
Use Radial Vectors: When this is on, it "radiates" the target's points from the curve centerline. When it is off, it uses the target's normals as the direction-- it is an arbitrary direction determined by the direction of the normal (polygon direction). Using this will essentially perform a Spherize/Bloat hybrid, but with a curve.
Filter Tool Banking: When this is on it ignores the twisting of the curve.

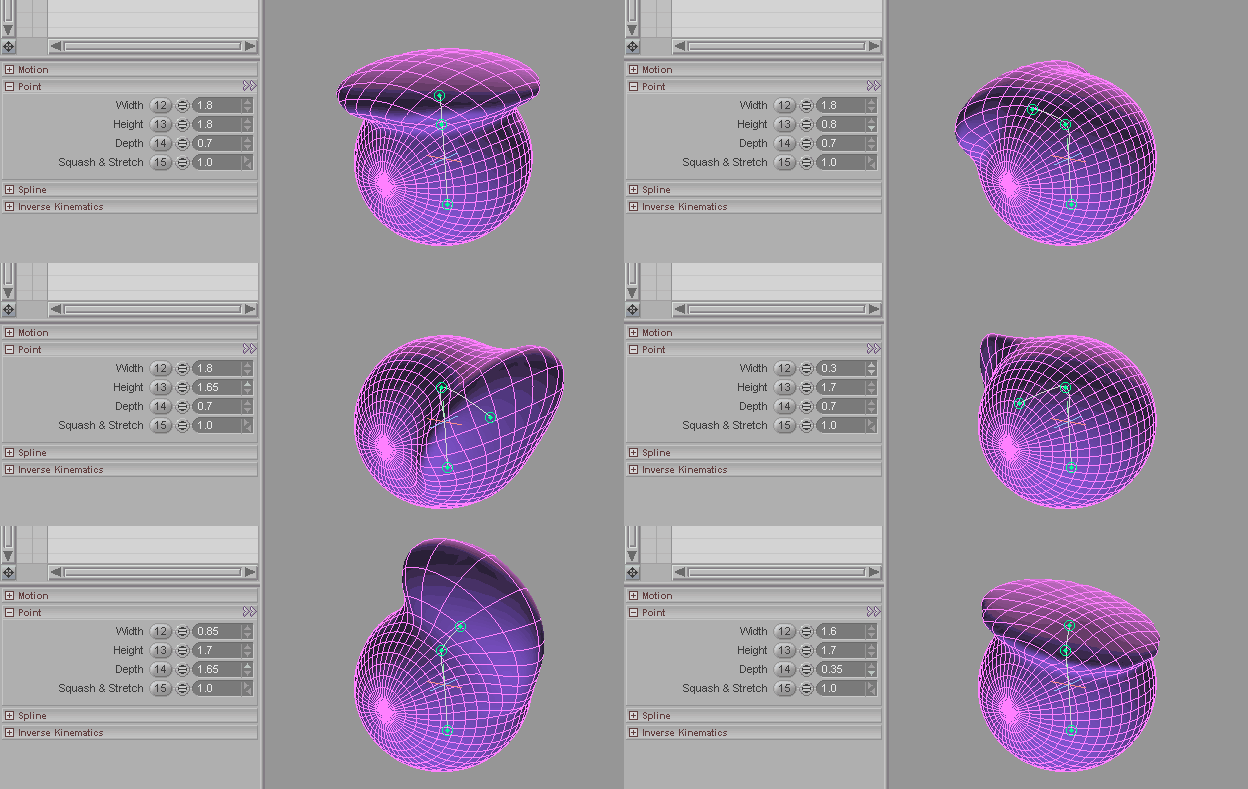
Adjusting the points of the curve. You can create a lot of
cool effects with this, especially in conjunction with other
tools.
See also: Curve Curve Options Point