|
T u t o r i a l - MetaEffector with Bones |
|---|
Skill Level: Beginner
MetaEffector is a Weight Tool that has a wide variety or uses, all the way from character rigging to texturing, and everything in between. They're used for isolating weights and creating custom weight fields. The MetaEffector itself is the Tool (or "master tool") but the real thing you'll use are Effectors, which are the sub-tools. As for the relationship between a tool and a sub-tool, think of it like the Skeleton and bones. The Skeleton is the tool, and the bones are the sub-tool.
What you'll learn in this project is the basics of setting up a MetaEffector and its Effector sub-tool. With a basic character and setup like this you probably wouldn't need to use MetaEffectors, but it's a good character to use as a tutorial. So let's begin...
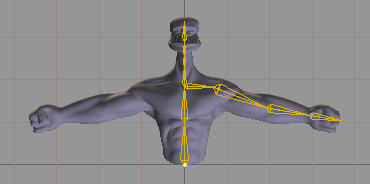
1) Load the Tools_MetaEffector_Bones_Beginner.fxs scene from the Tutorials folder. This is a simple bone setup of the Butch character.

2) Go to Setup![]() Tools
and select MetaEffector from the pulldown
list, then add it by pressing the
Tools
and select MetaEffector from the pulldown
list, then add it by pressing the ![]() button.
button.

3) You will now see the MetaEffector tool in the Item List, just below the Camera. Drag the MetaEffector to the bottom of the Item List. (This isn't crucial, but it will make it easier to work with.) Now, at the bottom of the interface you'll see the MetaEffector block. Click on the Add Effector button. You will now see an Effector in the Item List.
|
|
|
4) On the Effector block, right-click on the Key Modifier button for the X Radius. It will turn purple, and on the far right of the Edit Sphere in the World View you will see a W.
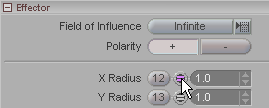
5) Now grab the Edit Sphere by the middle-- the M-- and drag it up to the upper arm. Then click on the W and drag it to scale the Effector so it's about the length of the upper arm bone.
|
|
|
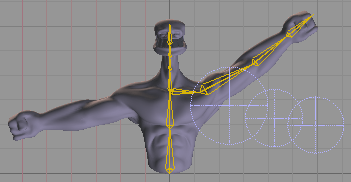
6) Now let's quickly add the Effectors for the rest of the arm. Press the * button on your numeric pad. That will clone the Effector. Grab it by the M and drag it to the lower arm. Adjust the scale slightly with the W control. Then press * again and move it to the hand, then scale it to fit. (Note: When you make a clone, the clone will automatically be selected, so after you press * you can click and drag the M.) Here's what you should have now:
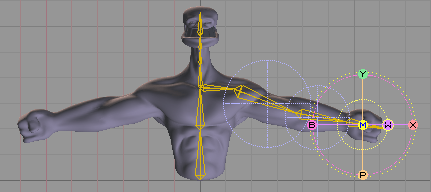
What you've done so far is create three Effectors and position them. But right now the bones in the arm are still using their own weights, so now it's time to set them to use the weighting of the Effectors.
7) Select the upper arm bone (Skeleton_Bone_9). You will see the Bone block appear. Expand the left side of the interface by pressing F3 and you will see the Weight pulldown. Select MetaEffector from the list. Do the same for the lower arm and the hand (bones 10 and 11).

8) If you go to the Animate tab now and press play, it won't look pretty. As you can see, the weights are not set very well. This is because even though we have scaled the size of the Effectors, we haven't set how the weights should work.
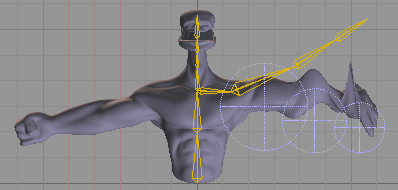
So go back to Setup. The first thing to do is make it so you can see the weighting on the geometry. Select MetaEffector in the Item List, then hold CTRL and select Butch_Getting_Started. (Note: In the image below I have collapsed the bone hierarchy just to keep the image smaller. But leave yours the way it is.)

Now click on Add Items To Weight Drawing List and you will see the Butch object appear there.

You will also see that the Draw Mode of Butch has changed to Weight & Edges. Butch looks black now, except for some slight gray on his arm. The light parts show the Effectors' weight field influence. The whiter it is, the more effect the Effector has. So you can see why the weights didn't do much when you went to the Animate mode. So now let's adjust the weights. Note: The S in the list means that the weights will show the influence they were set for in Setup mode. Since we have weighted the arm, the weights will draw there even if you move the character around in Animate mode.
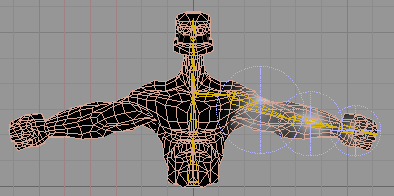
9) Select MetaEffector_Effector_1, then adjust the Strength setting on the Effector block by dragging on the arrow gadget.. As you can see, the weight updates on the object as you drag. For this tutorial we don't need to be precise, so just set it so it's pretty strong. 5.0 should be great. Then do the same for the other two Effectors.
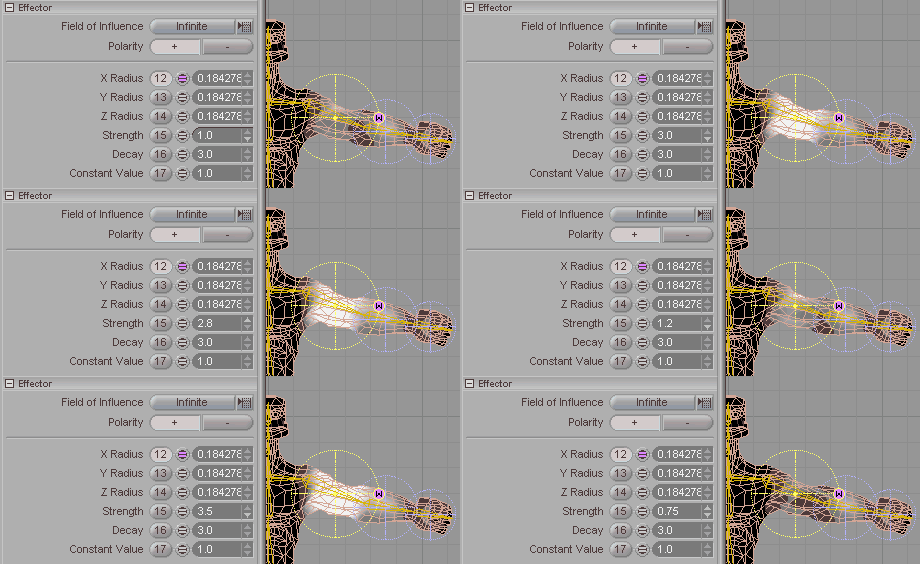
Here is how it should look when you are finished playing:
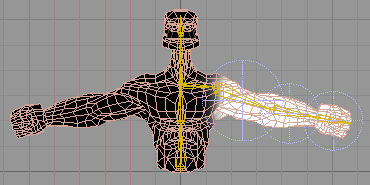
Now when you go to Animate mode and press play, it will deform properly.
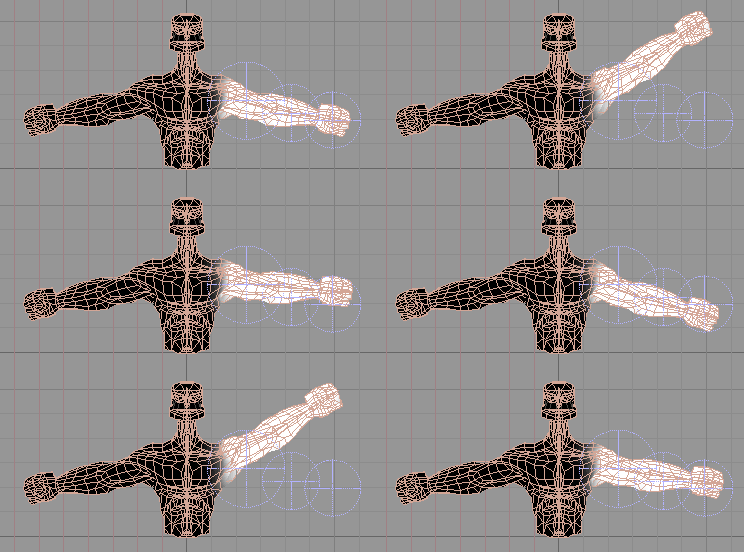
Notice how the Effectors don't move though. That is because their effect is calculated in Setup mode, so they don't have to move with the arm. You can parent them if you want, by going into Setup and parenting them, then repositioning them (or using Parent Item, to parent them in place). But it's not necessary. (The only reason it might be good to have them parented is that you could mirror the arm and it would mirror the Effectors too.)
And now you can change the Draw Mode back to Smooth, so you can see the real final results.
A finished version of this scene, called Tools_MetaEffector_Bones_Beginner.fxs is in the Scenes\Tutorials folder.
For more information, see: MetaEffector Effector Weight List Bone
| Converted from CHM to HTML with chm2web Pro 2.82 (unicode) |