|
T u t o r i a l - Compose |
|---|
Skill Level: Beginner.
Non-Linear:
If you've never done any non-linear editing (audio, video,
animation, etc.) it can seem scary or complicated, but as you'll
see, that's only because it is scary and complicated.
OK, actually it's pretty easy, at least to do the basics.
Naturally things can get more complicated the farther down you
dig. But that's a good thing; it means that for normal
every-day stuff it's easy, but for the times when you really have
to do something unusual or complex it can handle that too.
This tutorial:
The basic concept is this: Do some animation, such as
a ball bouncing, then save that motion and manipulate it on a
timeline, adding additional motions and even blending between two
or more motions. But we're going to do something really wild
and creative here-- a box bouncing.
What you will do in this tutorial is the absolute bare-minimum basic thing: Create an animation and record it to a Clip, then move it around on the timeline. It may not be very exciting, but neither is learning to walk-- yet once you know how to walk, then you can walk to exciting places. The same is true here: once you learn how to create a motion Clip you can walk to exciting places. And you'd better take plenty of pictures of those exciting places or no one will believe a word of it.
So let's begin:
1) For some reason, people don't like to start at the beginning, they like to jump right in. Therefore, I'm going to skip step 1 and let you proceed right to step 2.
2) Load our good friend,Box.lwo from the Objects\Tutorial_General\ folder.

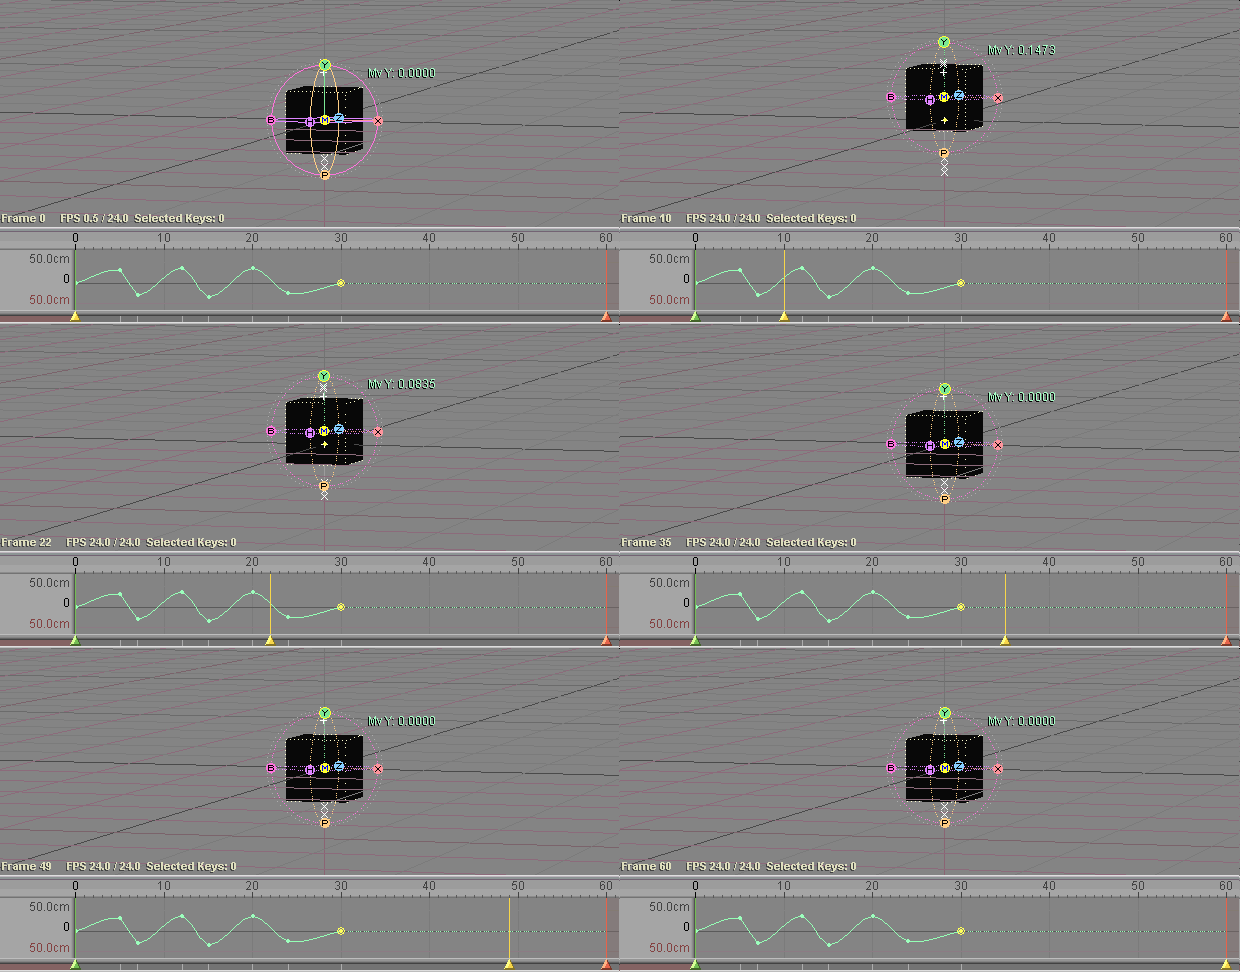
3) Do a short animation with the Box, maybe just making it bounce up and down for about 30 frames (in a 60 frame scene).

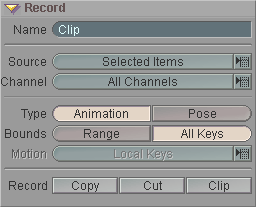
4) Go to the Compose tab and click on the All Keys button on the Record block on the Track sub-tab. This will make it so the motion that is recorded will only take frames 0-30 (the frames that have keyframes) and not 0-60 (which is the Range).

5) Make sure that the Source pulldown is Selected Items, the Channel pulldown is All Channels, and the Motion pulldown is Local Keys. Those should all already be selected, so you might not have to really change any of them. (See image above.)
6) Now it's time to record the motion to a Clip. Press Cut (at the bottom of the Record block). What this will do is record the motion of the box to a Clip, then remove the motion from the box's motion spline. So now the box has no motion at all, but we've "captured" it's motion into a Clip.
![]()
As you can see, the Clip appears on the Track Timeline. Actually, that's not really true; what you see is a Clip Instance. A Clip Instance is a "reference" to a Clip. The things that appear on the Track Timeline are Clip Instances, not Clips. So you can do whatever you want to the Clip Instances without worrying about altering the actual Clips. (The actual Clips can be seen, and modified, on the Clips sub-tab.)

Anyway, that's about it for the actual "step-by-step" tutorial part (I told you this was a very basic and easy tutorial). Press play and you can see that the Box will bounce for the first 30 frames. And if you click back over to the Animate tab, you'll see that there isn't any motion on the Box any more.
More Stuff Because You Thought That
Was A Pretty Lame Tutorial:
So now go back to Compose and lets take a look at some of
the things you can do. Play the animation after trying each
of these to see what it does. You might want to change the
Out point of the scene now so you have more room to work
with.
Dragging a Clip Instance: Now that the Clip Instance is on the Track Timeline, you can move it around by clicking and dragging it (left mouse button). When you do that (go ahead, try it) you'll see that the numbers on the left and right ends of the Clip Instance will change to show you where that motion will begin and end.

Scaling a Clip Instance: Grab the green handle on the lower left side of the Clip Instance and drag it left and right to change its In point. You are now making the motion within that Clip Instance play faster or slower (when the Clip Instance is longer than it originally was, it will play slower). Grab the red handle on the upper right side to drag the Out point of the Clip Instance.

Scaling with repeating: Grab the In or Out handle on the Clip Instance with the right mouse button and drag it out. You'll see that it looks different than when you were scaling it. If you drag it out far enough, you will see vertical lines evenly spaced along it. That shows you how many times it will repeat or loop the motion. And in the middle you will see a number next to the Clip Instance name telling you exactly how many times it will repeat.

Copying a Clip Instance: Hold down ALT and middle-click-drag the Clip Instance down in the Track Timeline. You'll see a ghost copy of the Clip Instance appear. You can release the mouse button when you see the Clip Instance on its own line. Now drag another one, but drag it to the right of itself, so you'll have two on the same track. You can middle-click-drag to move an instance from one Track to another.

ALT-middle-click-drag to add another instance. Ordinary
middle-click to move an instance from
one track to another. Right-click-drag to
scale-by-repeating. Left-click-drag for regular scale.
So there you have it. That's the basics of using Compose. Of course, this only hints at the tiniest tip of the iceberg of power that it has, but as you use it more, and as you read more of the documentation (which I know you'll do, right?), and as you do more tutorials, you'll find out how to unleash more of that power. Remember, use it only for good, never for evil.
A finished version of this scene, called Compose_Beginner_01.fxs is in the Scenes\Tutorials folder.
Additional information:
There's more information about Compose here:
General Info - Compose - Using
General Info - Compose - List
General Info - Compose - Reference
| Converted from CHM to HTML with chm2web Pro 2.82 (unicode) |