Compose: Using Compose
| Creating Clips |
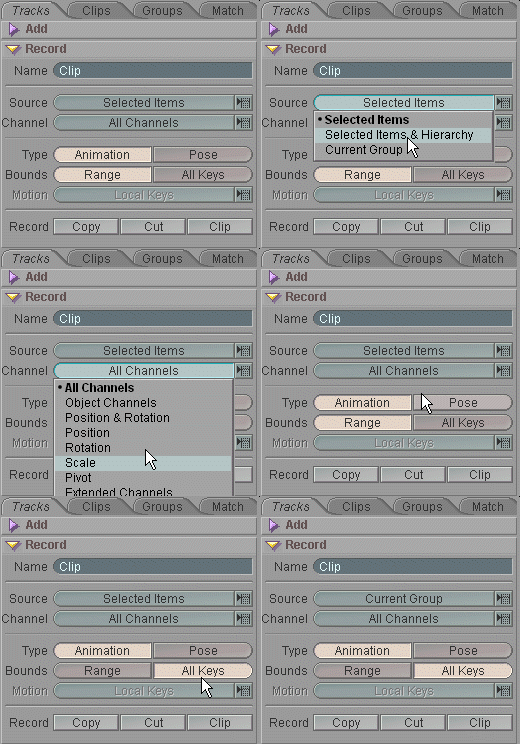
On the Record block, select the Source (Selected Items, Selected Items & Hierarchy, etc.), then choose the Channels (All Channels, Position, Rotation, etc.), and press Copy, Cut, or Clip. For additional information about the Record block, click here. Back to top

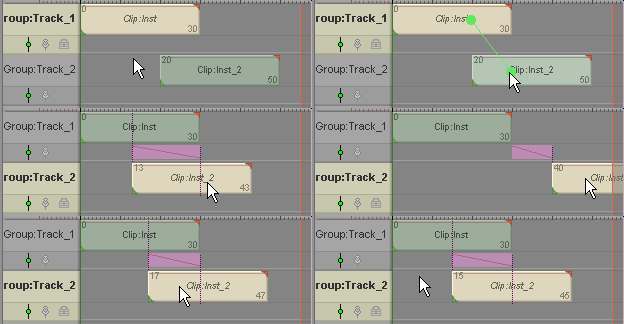
Moving a Clip Instance in time: To drag a Clip Instance on a Track in the Timeline, left-click and drag. When you do that (go ahead, try it) you'll see that the numbers on the left and right ends of the Clip Instance will change to show you where that motion will begin and end. Back to top
Moving a Clip Instance to a different Track: Middle-click and drag the Clip Instance to the Track you want it on. If there is no track where you are dragging it to, it will create one. Back to top
Scaling a Clip Instance: Grab the green handle on the lower left side of the Clip Instance and drag it left and right to change its In point. You are now making the motion within that Clip Instance play faster or slower (when the Clip Instance is longer than it originally was, it will play slower). Grab the red handle on the upper right side to drag the Out point of the Clip Instance. Back to top

Scaling with repeating: Grab the In or Out handle on the Clip Instance with the right mouse button and drag it out. You'll see that it looks different than when you were scaling it. If you drag it out far enough, you will see vertical lines evenly spaced along it. That shows you how many times it will repeat or loop the motion. And in the middle you will see a number next to the Clip Instance name telling you exactly how many times it will repeat. Back to top

Copying a Clip Instance: Hold down ALT and middle-click-drag the Clip Instance down in the Track Timeline. You'll see a ghost copy of the Clip Instance appear. You can release the mouse button when you see the Clip Instance on its own line. Now drag another one, but drag it to the right of itself, so you'll have two on the same track. You can middle-click-drag to move an instance from one Track to another. Back to top

ALT-middle-click-drag to add another instance. Ordinary
middle-click to move an instance from
one track to another. Right-click-drag to
scale-by-repeating. Left-click-drag for regular scale.
| Blending Clip Instances |
Adding a Blend Between Two Clip Instances: To add a blend between two Clip Instances, just right-click on one of the Instances and drag to the Instance that you want to blend to. When you drag one of the Instances, the Blend will adjust accordingly. Back to top
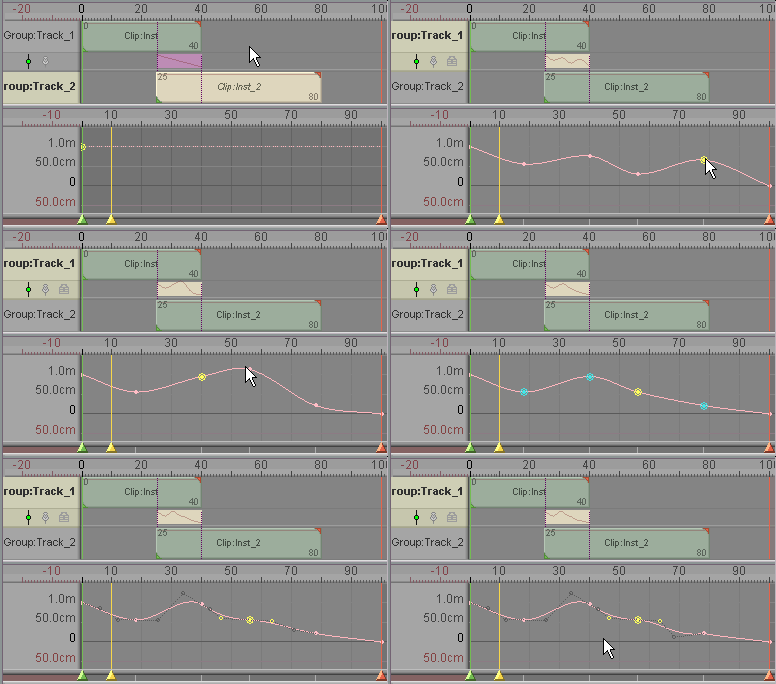
Animating a Blend: By default, the blend will be linear, moving from the top Instance to the bottom one. But you can keyframe the Blend and make it blend however you want it to. Just click on the Blend in the Track Timeline and you will see its curve appear in the Motion Graph. From there you can keyframe it just like any other item, even using Bezier curves to fine tune it. Back to top
| Moving & Copying Tracks |
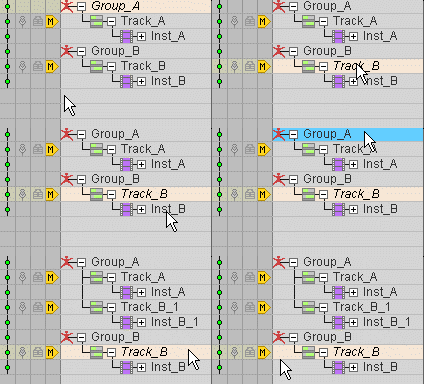
Moving Tracks To Another Group: In the Compose List, drag the Track onto the Group you wan to move it to (left mouse button). Back to top
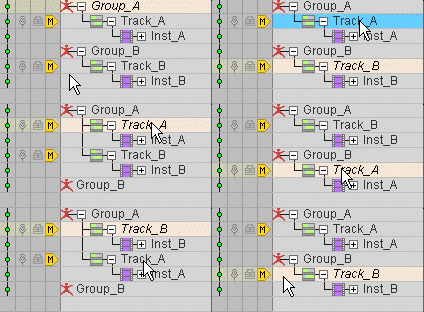
Copying Tracks To Another Group: In the Compose List, hold down ALT and drag the Track to where you want to copy it to (left mouse button). Back to top
| Editing Mix Levels |
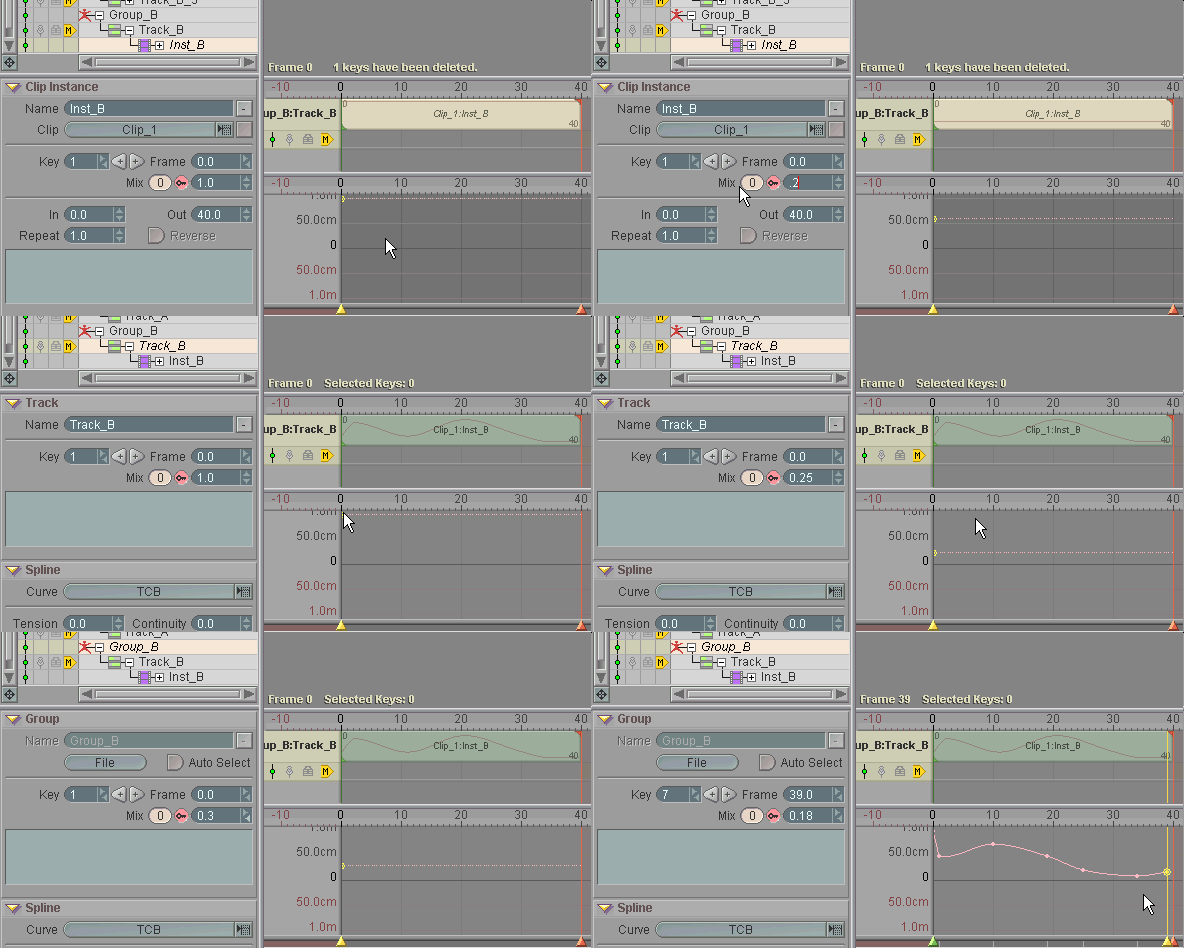
Editing The Mix of a Clip, Track, or Group: Select what you want to edit the Mix Level for (Clip, Track, or Group), then set the level you want in the Mix field on the block for the item (Clip Instance, Track, or Group), or use the Motion Graph to keyframe the mix. Back to top
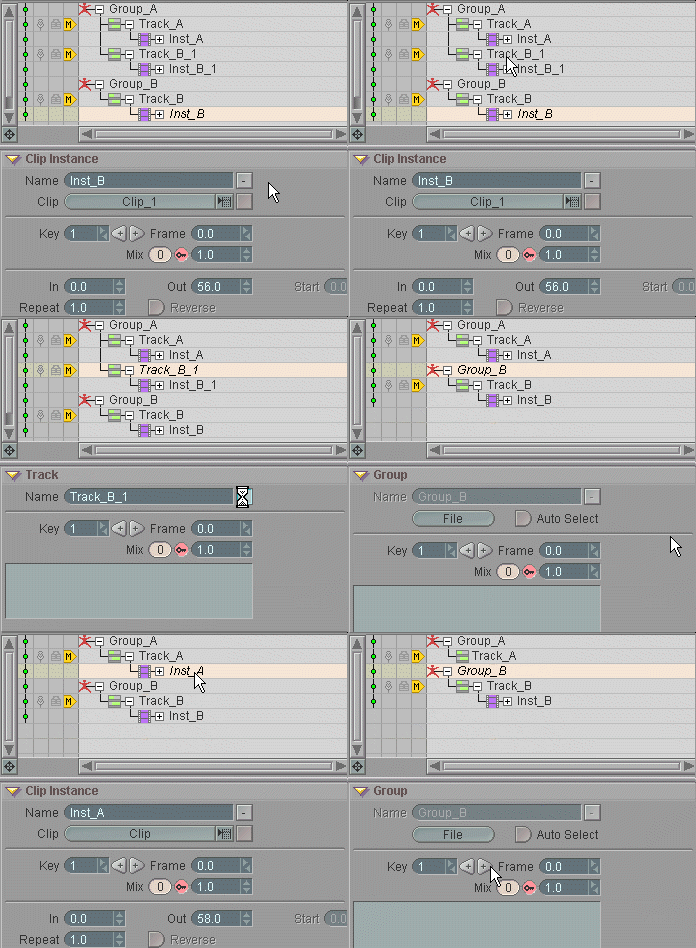
Select what you want to delete, either in the
Compose List or on the Track Timeline, then click on
the Delete button ( ![]() ) on the
corresponding block (Track block, Clip Instance
block, Blend block). Back to top
) on the
corresponding block (Track block, Clip Instance
block, Blend block). Back to top
| Viewing Tracks For Multiple Groups |
To view a Track (or multiple Tracks) from one Group while you are working with another Group, simply turn on the Tack icon for that Track. This can be very helpful when you need to time the actions of one character with the actions of another character; being able to see both characters on the Track Timeline lets you be sure of the timing of each. Back to top
![]()
| Editing The Motion Contained In a Clip (Clips sub-tab) |
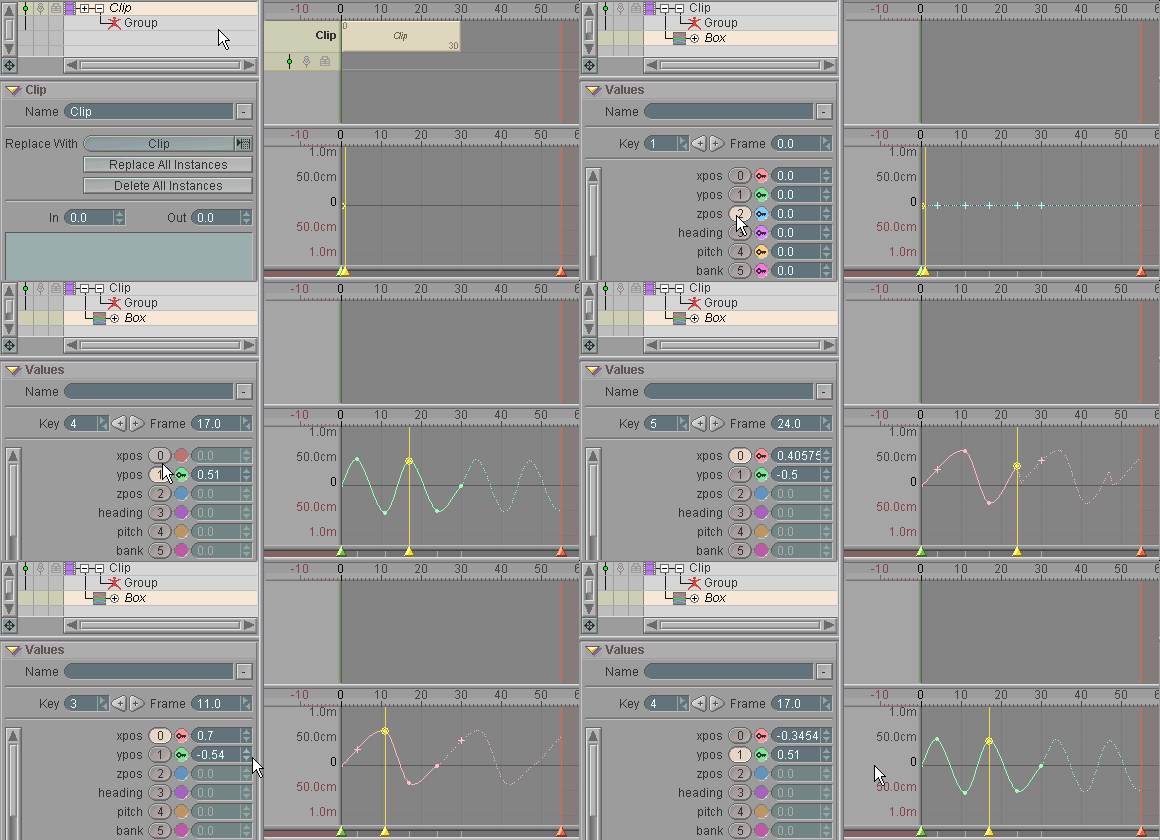
To edit the motion contained in a Clip (the actual Clip, not a Clip Instance) go to the Clips sub-tab and expand the Clip to reveal the object that the Clip was captured from. You will then see the motion curve appear in the Motion Graph below the Track Timeline. You can now edit the motion just like any other kind of motion curve. Any Clip Instances that reference this Clip will new use this modified motion. Back to top
| Converted from CHM to HTML with chm2web Pro 2.82 (unicode) |