|
T u t o r i a l - MotionBlender |
|---|
Skill Level: Beginner.
MotionBlender is used to tie poses to sliders. It's the same idea as the CycleBranch functions (see Expressions tutorials) but is somewhat quicker and easier to setup. In this tutorial we'll use the completed Muscle tutorial scene, make some poses, then link them to sliders.
Let's begin...
Part 1-- Setting Up MotionBlender
1) Load the
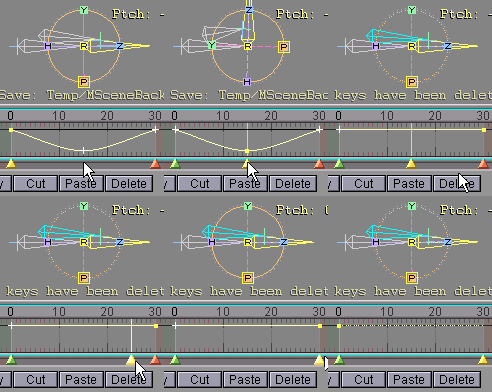
scene Gen_Muscles_01.fxsfrom the Scenes/Tutorials directory, then delete the keyframes at 15 and 30 for
Lower_Arm. Just select frame 15 in the Motion Graph and right-click on the Delete
button, then do the same for frame 30. (Right-clicking on Delete
will delete the frame on all channels.)

2) Set the In point to -3and slide the graph over so you can see up to (or down to) -3. You can adjust the In point by clicking on the arrows next to the numeric field (as seen below), or dragging them, or by dragging the light blue In marker. (The In marker is green in these images, but please pretend it is blue. Won't that be fun?)
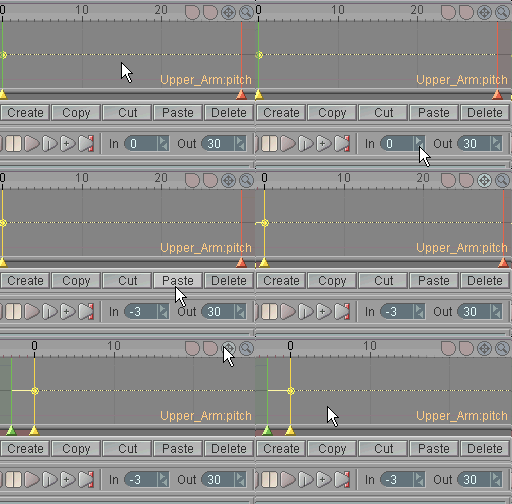
3) Go to frame -1 and position the bones (Upper_Arm and Lower_Arm) in an interesting pose. Do different poses at frame -2 and -3.

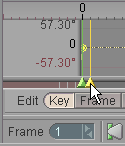
4) Set the In point back to frame 0and go to frame 1 with the Current Frame Marker.
![]()
5) Unlock the Null object at the top of the Item List (the main parent of the arm) and select it.
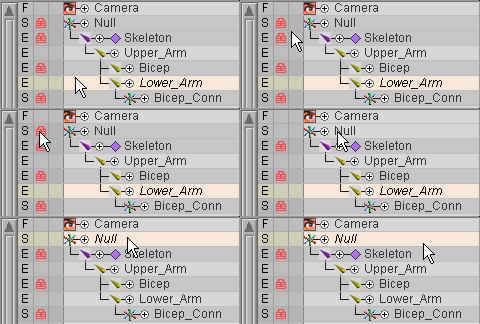
6) Go to Setup and select MotionBlender from the pulldown list on the Effects sub-tab, then apply it.
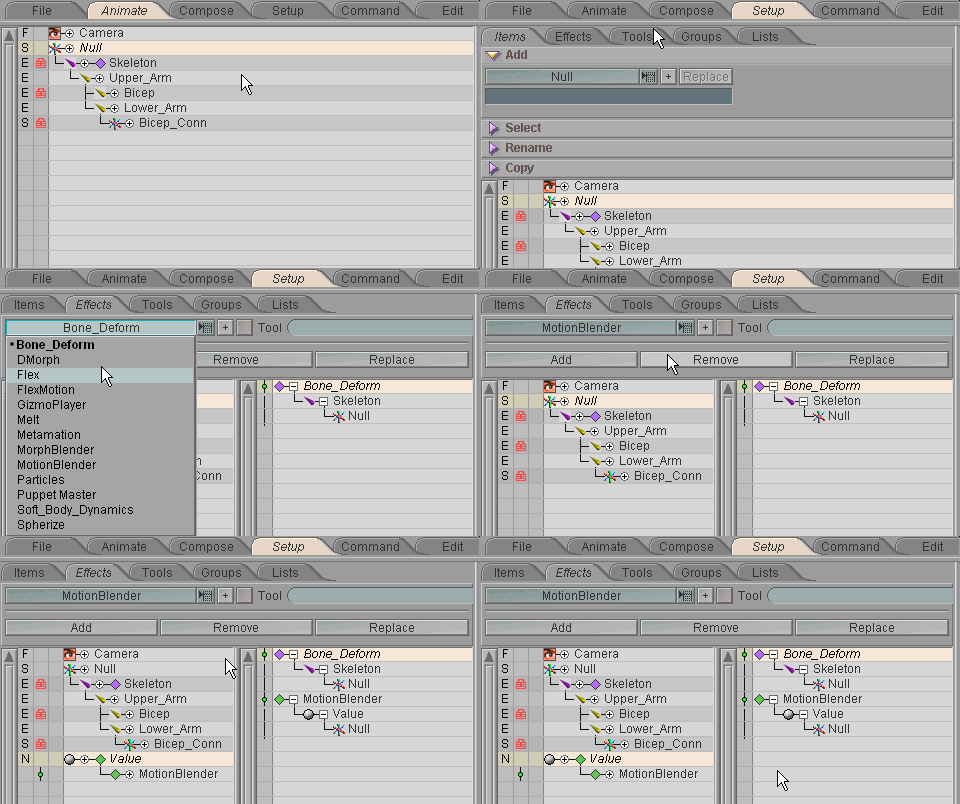
7) The Value block will now appear. Press New Slider and you will instantly be presented with the Values block, which is where you set up the slider.

8) For Value 0, enter -1in the middle text field. For Value 1 enter -2, and for Value 2 enter -3. Note: You can enter a value even if there is no pose at that frame. Of course, when you move that slider nothing will happen. But you can then go and create a pose at -23. In other words, it doesn't really matter whether you set up the slider first or the poses first.
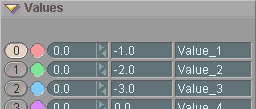
9) Right-click on the Key Modifier buttons to the right of the Channel numbers for channels 3, 4, and 5. We don't have poses set up for those so there's no need to have those slider channels visible. When you are finished, go back to the Animate tab.

That's all! Now make sure you're at frame 1 (or higher), then simply move the sliders. You'll see the arm go into the corresponding pose.
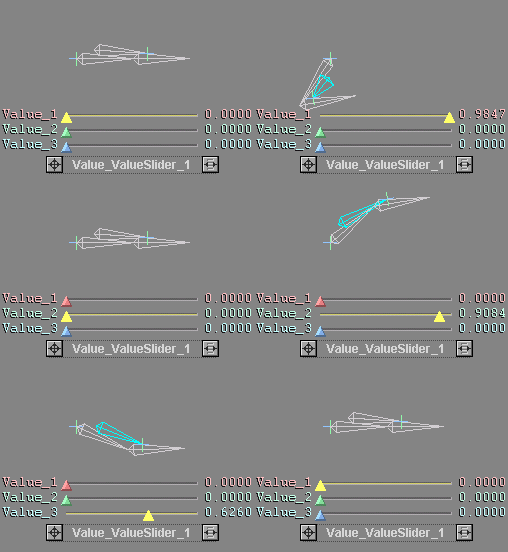
| Note: By default, MotionBlender is set for Additive blends. This can, of course, be changed to Averaged blends just by selecting the MotionBlender effect in the Item List (when in Setup). You'll see the MotionBlender block appear, and that's where you turn off Additive blending. It's also where you can turn off whichever channels you don't want to be affected by MotionBlender (by default, all channels will be controlled by MotionBlender). |
Part 2 -- Creating New Poses With
the Sliders:
If you want, you can even use the sliders to make new poses in the
negative frames. It's great when you're using
MotionBlender for facial animation-- you can create new
facial expressions and phonemes on the fly. (Note: This also works
with the CycleBranch expressions.) Here's how to
do it:
10) Turn up a couple of the sliders so you've got a new pose that you like.
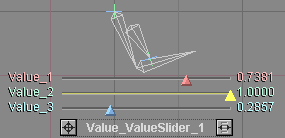
11) Set the Active Edit to Descendents. This makes it so when you create a keyframe for the current item it will also make a keyframe for the items that are parented to it. Select the Upper_Arm bone and press Enter on the keyboard. This brings up the Create Key pop-up panel. Turn on Use Computed Values and enter -4 into the Create Key At field and press Enter. (See image below.) Note: Use Computed Values makes it so the keyframe will take into account any expressions that are influencing the object.

12) Go into Setup and select the ValueSlider in the Item List. On the Values block, set Channel 3 to -4. You'll also need to turn on the #3 slider with the Key Modifier button.
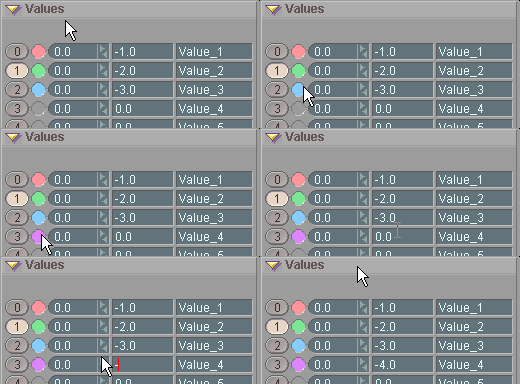
13) Go back to Animate and you can use slider this new slider channel to put the arm into the new position. Move channels 1-3 back down to 0.000 then move channel 4 all the way to 1.000 and it will go into the position you just created from the other channels.
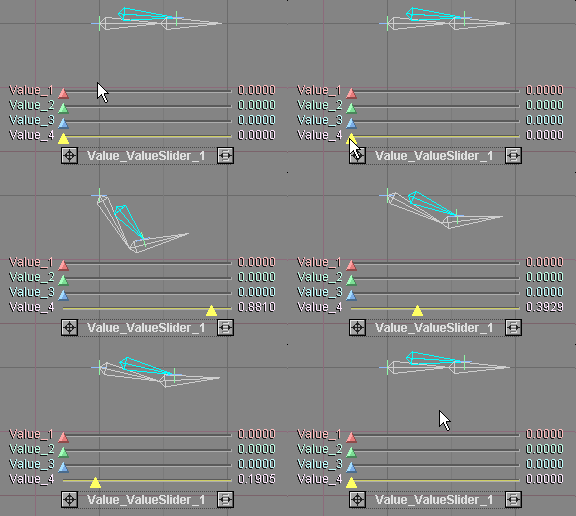
Of course, you can also create new poses the way you did your original ones, by going to negative frames and moving the bones around. But for some instances, using the sliders can be just as good-- and quicker.
One last thing: It's always a good idea to name everything so it makes sense to you down the road (or to other people who may use your scene). Rename the slider (on the Name Items block on the File tab) to Arm_Poses (or whatever you want), then rename the individual channels (on the Values block on the Setup tab) to whatever would best describe them. For facial poses, coming up with names is easy (Smile, Frown, MouthOpen, etc.).
And remember, we're all counting on you...
Additional information:
General Info - MotionBlender Basic
Interface - Keyframe Panels Animate - Values
block Setup - MotionBlender block
Setup - Value block Setup - Values (Slider) block
| Converted from CHM to HTML with chm2web Pro 2.82 (unicode) |