
|
T u t o r i a l - DMorph |
|---|
Skill Level: Beginner.
What the???
DMorph is used to play back a sequence of objects that were
made using Save Morph Sequence. The point positions of
those objects drive the deformation of the DMorph'ed
object. It is not object replacement, it is applying
the point positions of the sequence objects to the base
object.
The
two-step:
Since DMorph uses a sequence of objects created with Save
Morph Sequence, this tutorial will cover both. So
there.
Tutorial:
1) Load
EffectTypes_MorphBlender_Beginner_01.fxs from the Scenes\Tutorials directory of messiah_content.

2) Select Smiler_Base.lwo and go to the Customize tab. Select Save Morph Sequence from the pulldown list.
3) Set the save path and name for the object sequence to save to. In this example, it was:
C:\messiah_content\Objects\Morphblender_Tutorial\SaveMorph\Smiler_Sequence.
But since there's already a sequence there (for use in other tutorials), use a different file name (such as Smiler_SequenceA) or to a different folder so it doesn't write over it. You can leave all of the other parameters as they are. Now press Generate Current Morph Sequence. You'll see it display the saving process in the Info window above the save path. It will only take a second or two to save the sequence.
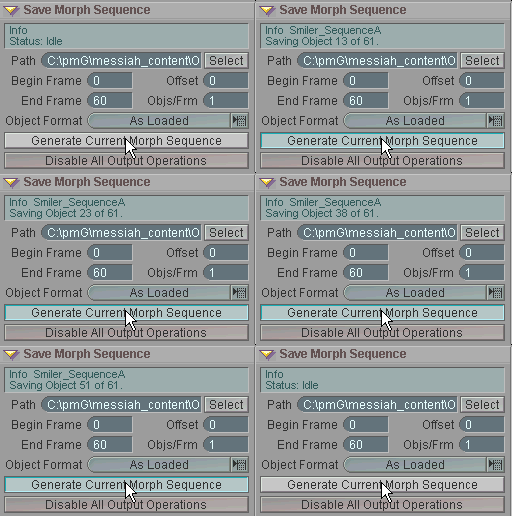
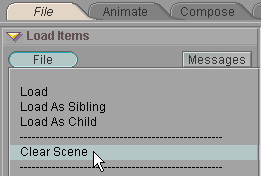
4) Now that the object sequence has been created, it's time to apply it. Clear the scene (once you have checked to be sure the object sequence files are there).
5) Load Smiler_Base.lwo from the Objects\MorphBlender_Tutorial\ directory, then go to the Setup tab.
6) On the
Effects sub-tab, select DMorph from the pulldown list
and click the ![]() button.
button.
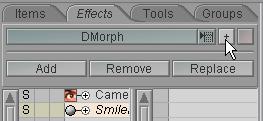
7) Select DMorph in the Item List (the list on the left) and you'll see the DMorph block appear below.
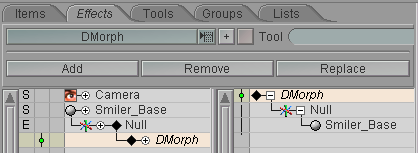
8) On the DMorph block, click on Load Sequence, then select the first object in the sequence you saved with Save Morph Sequence and load it. (Note: There are 61 files because you saved 0-60, which is a total of 61, not 60.)
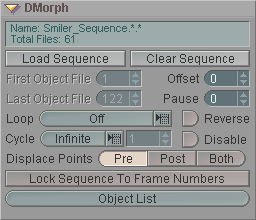
Your sequence has now been set to drive the deformation of the Smiler_Base.lwo object.
9) That's all there is to setting up a simple DMorph effect. Now switch back to the Animate tab, and when you press play you'll see it move just like the original in the Morph Blender scene. (Note: Select Smiler_Base in the Item List and press TAB to turn on MetaNURBS so you can see the deformation more clearly.)
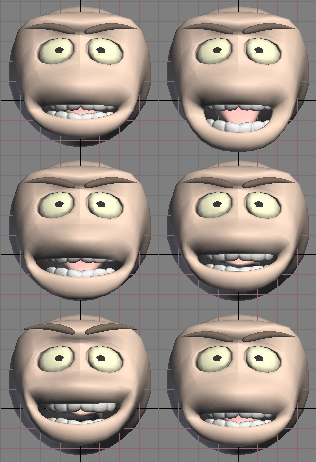
That's all there is to it!
A completed version of this scene (EffectTypes_DMorph_Beginner.fxs) is available in the Scenes\Tutorials folder.
Additional information:
There's more information about DMorph here:
General Info - DMorph
DMorph block Save
Morph Sequence block
| Converted from CHM to HTML with chm2web Pro 2.82 (unicode) |