|
|
|---|
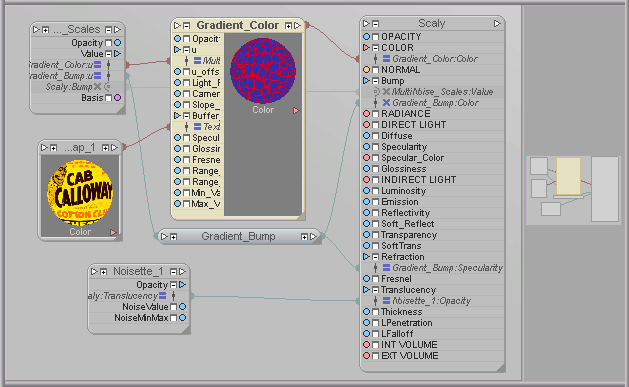
Note: The Shader Flow appears when you are on the Materials sub-tab of Render.
The Shader Flow is where you set how your shaders interact with each other. For example, connecting the color output of a Texture Map (image map) to the Bump channel of your material. You can also create, copy, cut, paste, and delete nodes. A node is an individual shader component. The image above shows six nodes (including the actual material, which is the "Scaly" node). The window is scalable by dragging the top or the left side.
To get the material you want into the Shader Flow, just select it in the Materials Tray, or in the Materials List.
Shader Flow Context Menu:
|
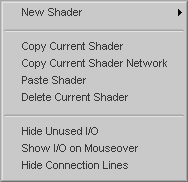
This is the Shader Flow context menu. Right-click in a blank area of the Shader Flow to bring it up. New Shader (fly-out) : Use this fly-out to select the type of node you would like to add to this material. After you create the node, connect its inputs and outputs to the other nodes as you want them. To learn how to attach, move and detach, see below. Note: You can also create from the blocks to the left (such as the Basic Properties block). Copy Current Shader: Stores a copy of the selected node in RAM so you can paste it to another material (or to this same material, if you need a copy). Copy Current Shader Network: Stores a copy in RAM of the selected node and everything that comes into it, so you can paste it to another material (or to this same material, if you need a copy). Note: This option will only appear if the currently selected node has something coming into its inputs. Paste Shader: Pastes the Shader or Shader network that is currently in RAM. Delete Current Shader: Permanently deletes the current shader node (you will not be able to paste it, or undo it). A requester will come up asking for confirmation, then, if the shader is part of a network (i.e. a shader tree), it will ask if you want to delete all items providing input to the shader being deleted. Hide Unused I/O: Turn this on to contract the nodes so only the active connections are showing. This can help greatly in complex flows, because each node will be much smaller (unless you have connections on all channels). Show I/O on Mouseover: When you have Hide Unused I/O on, this will automatically expand the node that your cursor goes over. The node will contract again when the cursor goes off of the node. Note: When there is no preview on the node it will expand to show all I/O. When there is a preview on a node, it will expand all I/O if your cursor goes over the body of the node, and expand only the In or Out of you put the cursor over those respective expand/collapse gadgets on the node header bar. If this option is off but you are using node Preview (see below), you can still show the I/O by holding CTRL and moving the cursor over the In or Out expand/collapse gadgets on the node header bar. Hide Connection Lines: Turn this on to hide the connection lines between nodes. |
Node Context Menu:
|
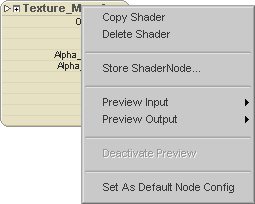
Right-click on the header bar of a shader node to bring up this context menu. Copy Shader: Stores a copy of this node in RAM so you can paste it to another material (or to this same material, if you need a copy). Delete Shader: Permanently deletes this node (you will not be able to paste it, or undo it). A requester will come up asking for confirmation, then, if the shader is part of a network (i.e. a shader tree), it will ask if you want to delete all items providing input to the shader being deleted. Store ShaderNode: Lets you save a Shader network or single node. If the current node is part of a network, it will save the network. By default it will save to the shadernodes folder and you can open the Palette (F5) to access it. Note: This option is not available for Material nodes (such as Scaly in the top image). To save a Material, use the Materials sub-tab context menu. Preview Input & Preview Output (fly-out): Use the fly-out sub-menus here to select the type of preview you want for this node. See Node Preview below. Deactivate Preview: Turns off the Node Preview. Set As Default Node Config: If you like how the current node is set (preview type, show/collapse I/O, etc.) use this to make that the default for each new shader node you create. |
Node Preview:
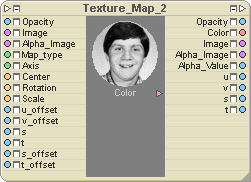
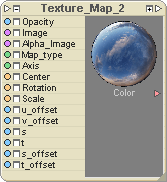
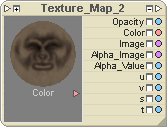

Using the Shader Node context menu (see above) you can set various preview types for each node. The images above show the various configurations the nodes can have when Preview is turned on. To choose a channel to preview, middle-click on it. Note: If a node is not connected to anything it will not preview. (Unless it was formerly connected to another node.)
|
Using The Flow |
Node Adjustments:
Opening and Closing Nodes:
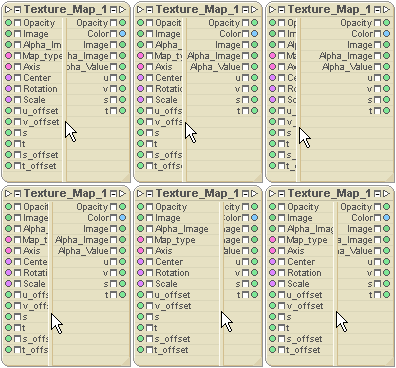
To open and close the nodes, click on the open/close gadgets.
There are two sides to the nodes: input on the left and
output on the right.
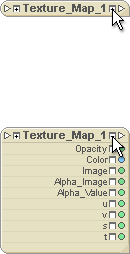
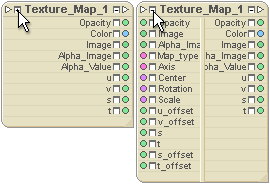
Moving a Node:
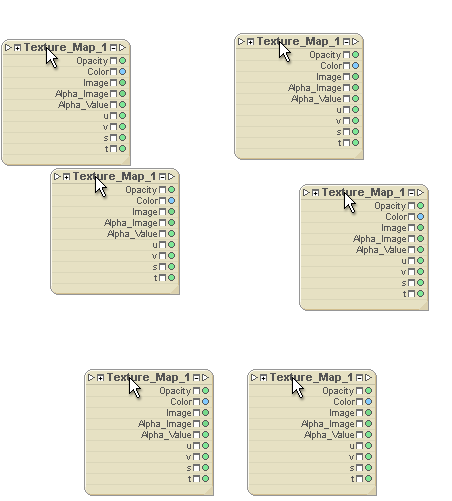
To move a node, just drag it from its label bar.
Scaling a Node:
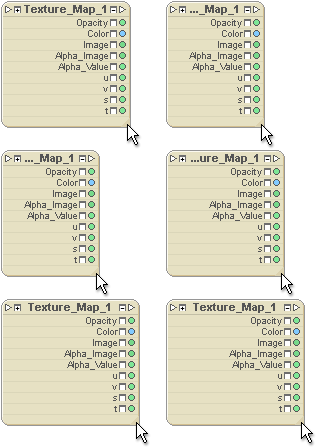
To scale the width of a node, open it and grab the bottom right
corner and drag it out.
Selecting a Node:
Besides, of course, clicking on the node, if you middle-click on a connection (in the node, not the
connecting line), it will select the node that the connection goes
to. If that node is off screen, it will scroll the
Shader Flow view to bring it on
screen.
Moving Shader Networks:

When you left-click on a Shader Node header (the name at the top) you can drag the shader. When you middle-click, you can drag the whole network (that node plus all nodes that come into it). The animation above shows two samples of left-clicking, and one sample of right-clicking.
Maneuvering With Synopsis View:
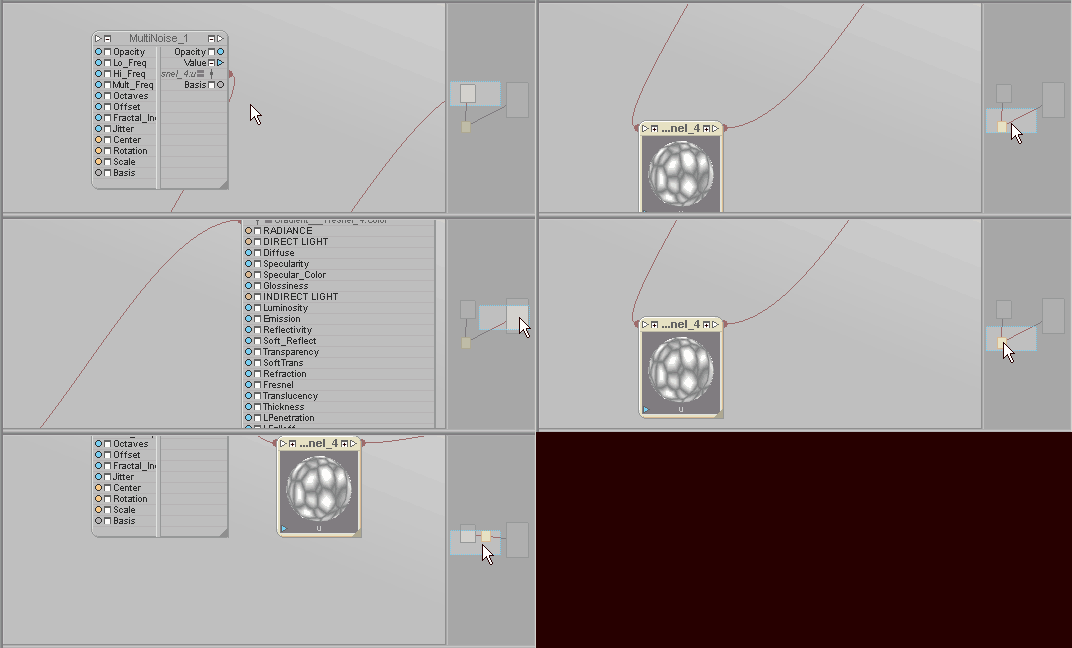
If the Shader Flow is too small to see everything, like if you have the Motion Graph and/or Item List expanded, you can use the Synopsis View to scroll around the view. You can even grab nodes and drag them. (The Synopsis View is the shaded area on the right in the image above.) Note: You can also move the entire Shader Flow around (the left side in the image above) by holding ALT and left-mouse button dragging.
Connections:
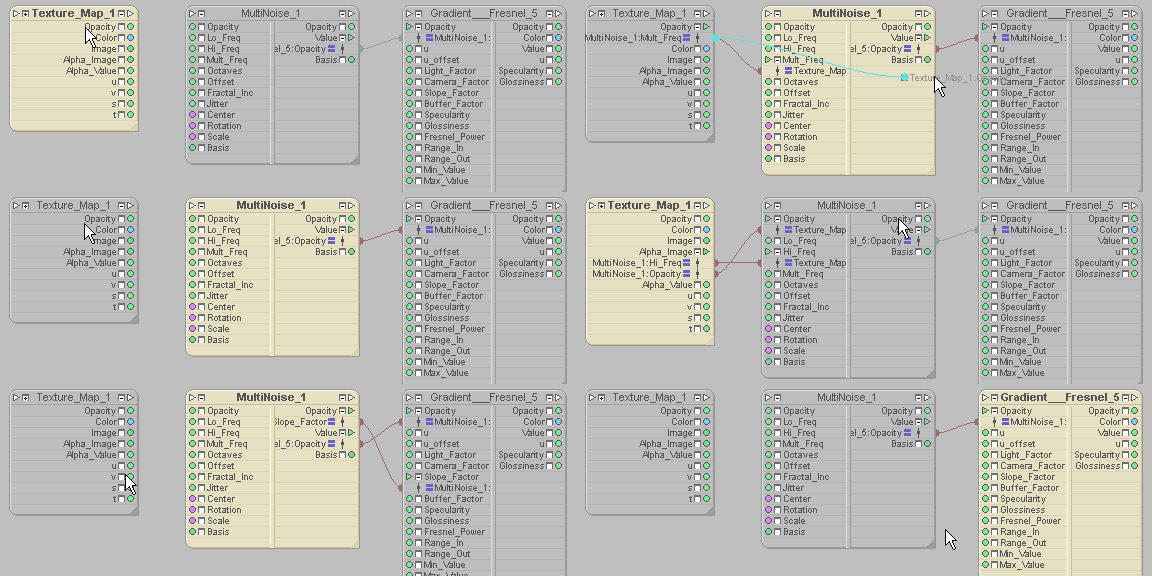
Attaching: To attach channel inputs and outputs just drag the output channel on one node to the input channel on another node. And of course, as you can see in the animation below, you can attach one channel to more then one node or more than one input on another node.
Detaching: To detach a channel, just drag it off the node it is attached to.
Moving: To move a channel attachment from one channel to another, or even to another node, just drag it to where you want it.
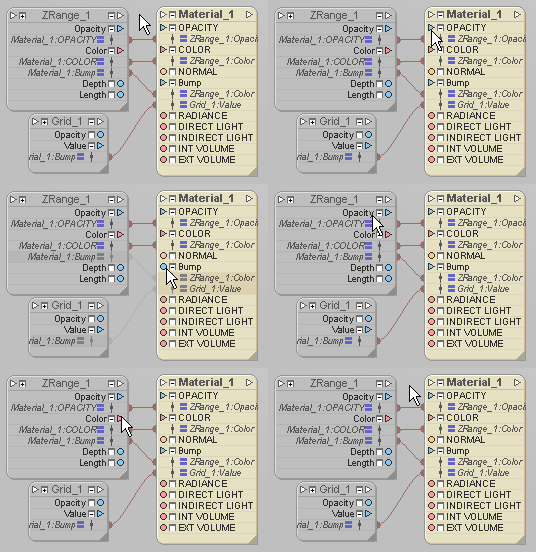
Enabling and Disabling: To enable or disable a connection, you can use the standard enable/bypass gadget that you'll see at the connections, or use the triangle/circle gadgets. (Triangle means enabled, and circle means disabled.) As you can see in the animation below, you can enable/bypass specific connections, or all connections to a specific channel, or all connections to and/or from a node, etc. When a connection is disabled, it will be shaded darker on the node.
Node Bypassing? Why
Not?
From time to time, people ask why you can't bypass a node to see
what the result would look like without it. It's an
attractive thought, but unfortunately it can not be done. The
reason is that if you bypass a node, how should the inputs
connected to it get calculated? The image below shows what I
mean. The Noise_1 node has two
nodes attached to it, with one of them connected to two inputs.
Inside the Noise_1 node, those
inputs are getting calculated with the noise, then output to the
Material. But if you bypass the
Noise_1 node, what would happen to the
Matte_2 connections? It's easy to
picture the Matte_1 connection just
going straight through to the Material,
because it is just color, but Matte_2 is
connected to the frequencies of the noise, and would therefore just
get dropped completely if Noise_1 was
bypassed.

So the only way to do the equivalent of bypassing a node is to manually connect the outputs of the other nodes to the inputs of the material (or whichever node comes after the "bypassed" one. You don not need to pull the connections off the bypassed node, you can just disable the output of that node by clicking on the little triangle on the top right of the node. It will change to a circle, meaning that it is deactivated. (See Enabling and Disabling immediately above.)
