|
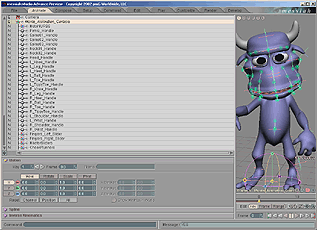
Blocks are where almost all of messiah's parameters are set. Each main tab (or "mode") has its own set of blocks, though some blocks exist on more than one tab. (For example some Effects blocks exist in Animate and Setup.) The image above shows some of the blocks from the File tab.
Numeric Fields: The numeric fields (such as Number, Digits, and Offset above) support simple math functions, so if you type 2+2 and press enter it will put 4. Or 3*3 will come out as 9. For more complicated equations, use brackets. For example: (3+2)/2 will put 2.5 in. Not only that, but the fields support any function or variable, as well. For example, set the current frame to something other than 0, then enter NOW into an input field. You'll see the current frame number entered into the field. Opening and Closing: The blocks can be opened and closed by clicking on their open/close gadget (the + & -), or their name bar (such as Add Items in the image below). On the Customize context menu there are settings for the way blocks will open. (Also on that context menu you can set messiah to use tabs instead of blocks.) Note: If you have set the interface to Blocks Use Tabs (on the Customize context menu), this will not apply to you.
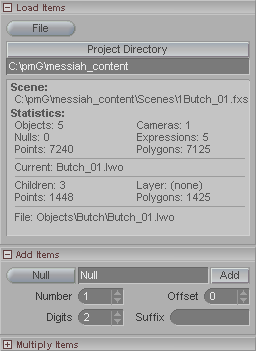
Normal List & Wide List (F2 and F3 areas): The list/block area can be expanded or contracted, depending on what you are doing. The default size is also called the F2 side or F2 size or F2 area. The image above shows the F2 area for the Add Items block. But some blocks have more parameters than can comfortably fit in such a small area. So what we have done is split the features into ones that are often or always used, and ones that are rarely or infrequently used (the extended or advanced controls). For example, you might want to adjust the Pivot point of an object when you are setting up a character, but you probably won't animate that Pivot point. So on the Motion block (see below) the Pivot parameters are not in the F2 area. The area on the right is the F3 or expanded area. This side has those additional parameters that are used less often.
Expanding the block side also helps when you are working with expressions, because it will make the Expressions List wider, and therefore you will be able to view longer expressions. It's also good when you are texturing (messiah:studio only), because those blocks have additional controls and options in the "F3 area" more often than the blocks in other parts of the program.
To change the size of the block area, there are four Quick Keys on your keyboard: F1, F2, F3, and F4. In addition, you can click-and-drag the divider bar and drag the block area to the size you want. The image below shows the block area being expanded by dragging it over, then by pressing the F2 and F3 keys. As you can see, there are several additional features in the F3 area.
Key Modifier Buttons:
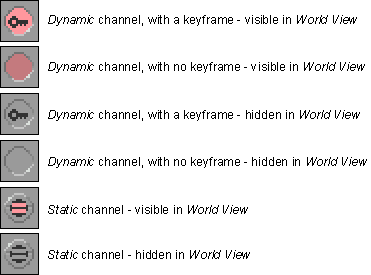
Visible/Hidden - Channels can be visible or hidden in the World View gadgets (Edit Sphere and Sliders). To hide or unhide, right-click on the Key Modifier button for that channel.
Keyframe Active/Inactive - When there is a keyframe on the current frame, a little key icon will appear in the Key Modifier button. To make the key inactive, left-click on the Key Modifier button. For information about active/inactive keys, click here.
Static/Dynamic - See next entry for information about this.
(Key Modifier images below are enlarged for easier viewing.)
Static and Dynamic channels:
You'll see these Static/Dynamic settings for each channel in messiah. |
||||||