So before I start, this is how my scene looks.
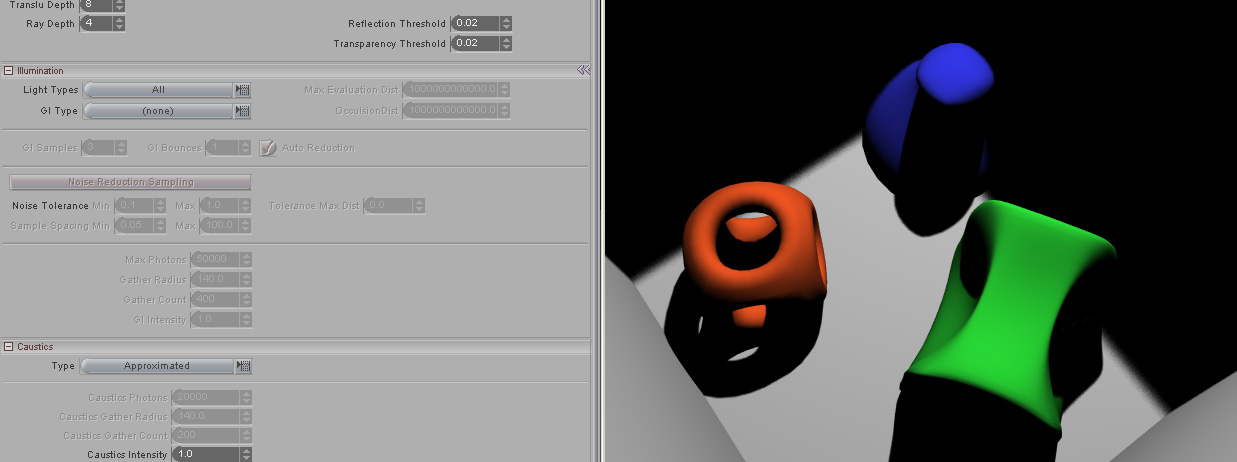
That's pretty dull huh? Some coloured blobs just sitting there in a box. But what's going on in the shadows? Where does the box end? I can't tell cause I can't see it. Let me introduce you to the all seeing, all dancing concept of bounced light, or global illumination if you prefer.
Next I set my GI type to Monte Carlo, Turn on the Noise Reduction Sampelling and dial in some numbers.
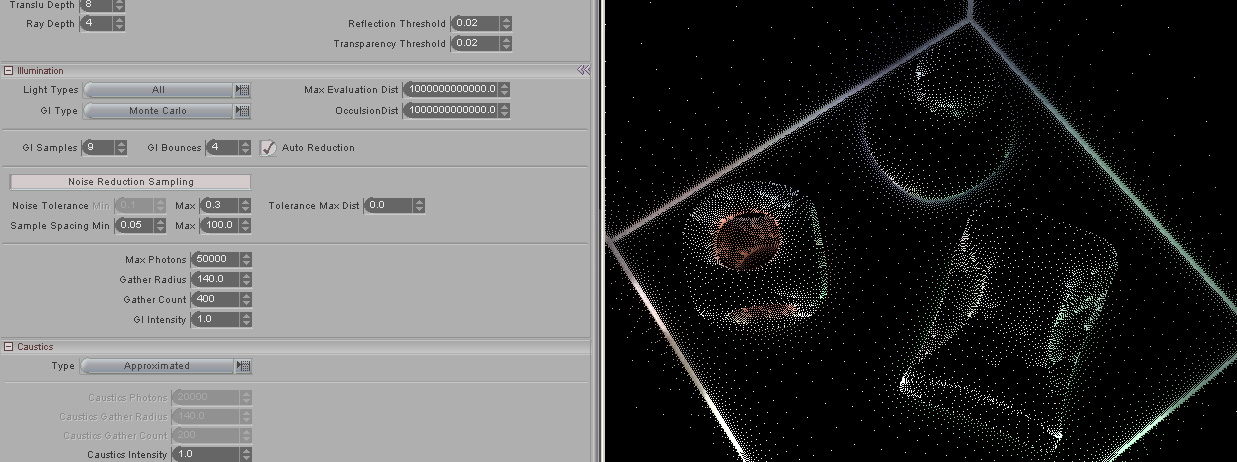
-I've set my GI samples to 9 to have something that computes relatively quickly so I can see clearly if my samples are where I want them and if the intensity is correct etc.
-I've set my GI bounced to 4. That means that each ray of light is going to bounce not once, not twice, not thrice, but FOUR whole times before it decends blissfully unaware of it's own exsistance and immindent death into oblivion. What that will do is give me a lot of colour bleeding in the globally illuminated areas. How many bounces to choose is a balancing act between computation time and what you want your image to look like. 1 bounce will give you very hard shadows and act kinda more like an Ambient Occlusion pass with colour and shadows all included. Going from 1 to 2 you will get a pretty big increase in how bright your scene looks so you may need to adjust the GI intensity. 2 is often a good compromise where you get that nice looking second bounce without the render hit of using more bounces. 3-8 tends to look great with lots of colour bleeding. Over 8 the changes tend to become more imperceptible.
-I've set my Noise Tolerance Max to 0.3. This is critical to where the GI samples will be placed. As you can see in the image above which is a screen shot of the rendering during the sampelling stage. What we can see there is that my samples are quite nicely placed eggsactly where the corners of the box are and where the items have a lot of curvature and where they meet the floor. That's cool, that's eggsactly what we wanted. We can also see some of the strongly coloured bounces in the samples and see what their colour values are. What's going to happen here is that messiah will sample those dots for what their GI value is and then smoothly interpolate between those samples.
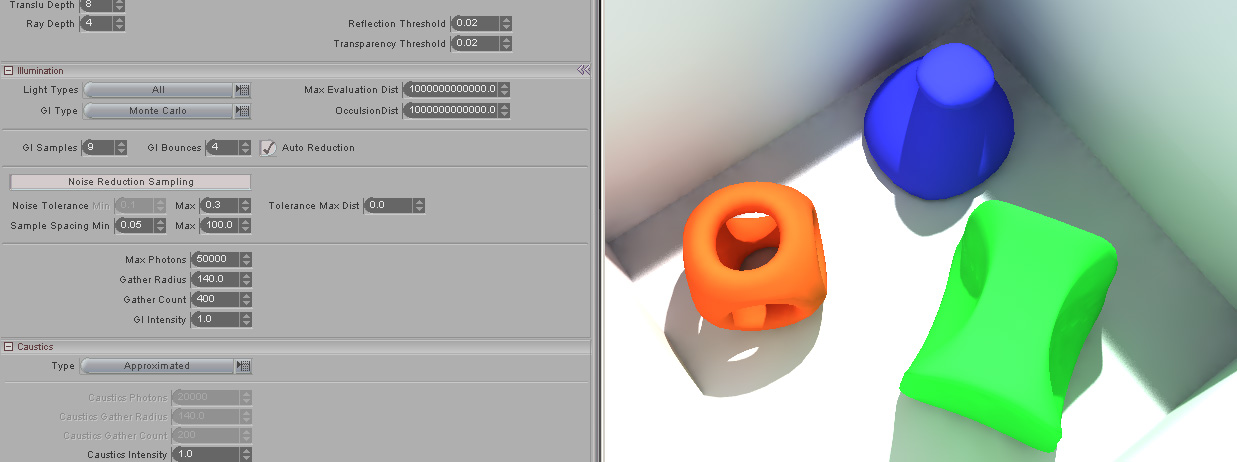
Oooh look at that. There wasn't really very much stuff going on in the shadows but there was some nice colours there too! And I can totally see where the box edges are now. Wow. That's clearly an improvement over what I had to start with. But wait, there's something wrong. First of all the picture is too bright. And I can clearly see that especially along the wall edges there are these little splotches and things. That doesn't look even at all. Photoshop is way cooler than messiah.
Let's remedy that. The reason there are splotches is that even though our sample spacing was fine, the actual samples we used weren't accurate enough. The reason it looks so bright is that when we're using 4 GI bounces we have to adjust the GI intensity so the image doesn't blow out, because there's way more light bouncing around now than when we started.
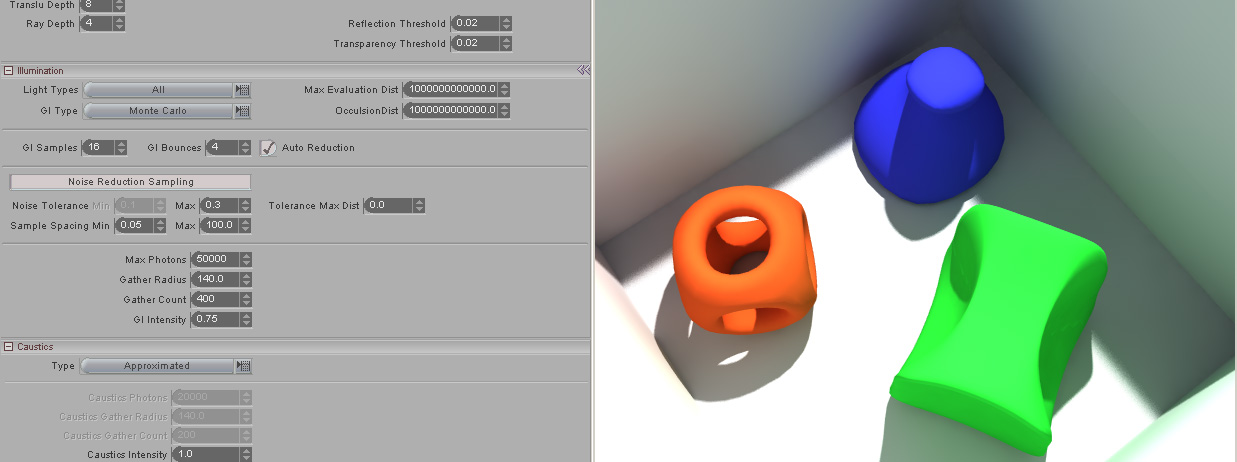
Here I've adjusted my GI intensity down a bit so I can see more distinction in the shadow side of the green blob for instance. I've also taken my GI samples up to 16 making them way more accurate. The render times are now longer (56 seconds here), but we can see that we've eliminated the splotchyness that was ruining our last picture. Perhaps the GI samples could be lower and still make the splotchyness go away but I just picked a setting that I knew would work.
Something that you'll find out when you're trying to do animation with GI is that sometimes when using this technique you can get GI flickering if your samples aren't accurate enough. Since we know that increasing the GI samples takes away splotches, this is also where you control the amount of GI flicker you will see. However increasing your GI samples is a clear hit on the render time, and you may want to avoid pushing your render times back up (since low render times are way cooler than long ones). If you have GI flicker there's a quicker method of removing it than sitting there waiting for long renders to finish. Luckily there is a free tool that applies a post process to your frames that takes away GI flicker on http://www.cemyuksel.com/software/TimeFilter/
As a side note: In this example I used a spot light with ray traced soft shadows that are quite noisy. Before you go adding heaps of anti aliasing on that to remove it, make sure that you set your soft shadow quality in the light panel to a higher value. It is easier to remove noise for the AA if there's less noise there in the first place. Remember to eat 5 fruit or vegetables a day.
You can download the messiah scene files here (originally downloaded as a sample for kray www.kraytracing.com )